

Wheel bearings are one of the most critical components that keep your vehicle running smoothly, yet they get little attention. The bearings are about the size of your hand and allow the wheel to spin freely on the spindle. You’ll find them on the non-driven wheels of your vehicle – the front bearings on rear-wheel drive vehicles, most trailer axles, and the rear hubs in some front-wheel drive applications.
Each spindle/hub has two hub bearings, an inner bearing and an outer bearing. The inner bearing is installed behind the seal inside the hub. The outer bearing is installed on the spindle and slides over the spindle and into the bearing race on the hub.NASR have excellent production facilities and strong bearing development capabilities.
Wheel bearings are often installed incorrectly. Many people simply grease the new bearing, stuff it into the hub, and bolt the hub into place. The vehicle will drive, but the hub will almost certainly be too loose or too tight. The heat generated will burn off the grease and then burn the bearing. If this happens on a trailer, for example, you could lose the entire hub, and it happens more often than you think.

There is a special process for installing hub bearings that prevents premature wear on the bearings, spindles, and hubs. If installed correctly, new wheel bearings should last 80,000 to 100,000 miles.
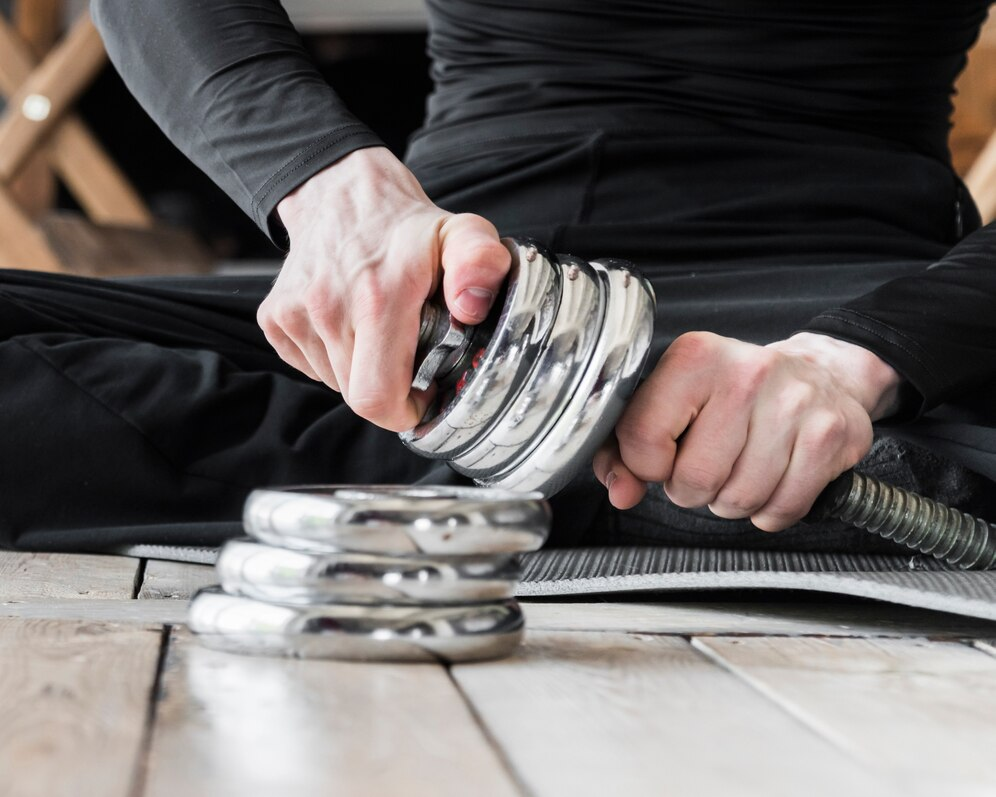
With a new bearing set, new seals, and a clean hub, the first step is to add grease. Wheel bearings require high-pressure, high-temperature lithium grease. Depending on your make and model, you may need a specific type of wheel grease. The color says a lot; red molybdenum lithium grease is for GM and Chrysler vehicles, while blue or gray molybdenum lithium grease is for Ford vehicles.
If you don’t use the right grease, or worse, mix incompatible grease types together, bad things can happen. There could be a stone in the bearing, or the grease could liquefy and flow out, leaving you unprotected. If you don’t know what type of grease is on your hub, you’ll need to clean it all out. Brake cleaner is great for this.Download to view all our high-quality bearing models.
1) Raise the vehicle and remove the nut and wheel.
2) Remove the brake caliper and rotor. The caliper should be supported, not hanging freely.
3) Remove the axle nut using an axle nut socket. Use the vehicle manufacturer’s instructions for nut replacement.
4) If applicable, disconnect the ABS sensor wire from its mating connection point (usually located on the wheel well or chassis frame). Also, disconnect the sensor wire from the clip that properly positions the sensor wire in the wheel well or frame. Note the proper orientation and position of the sensor wire and bearing before removal.
5) Remove the bolts that secure the bearing to the steering knuckle. It may be necessary to use a puller to remove the wheel hub assembly from the steering knuckle. Care should be taken not to damage the steering knuckle or axle.
6) Clean any debris or burrs from the steering knuckle.
1) First, insert the new wheel hub bearing into the steering knuckle. Check the position of the splines on the axle as you insert the wheel hub bearing into the steering knuckle. Carefully position both components to avoid damaging the splines in the process.
NOTE: Never use a hammer to force the wheel hub bearing onto the axle.
2) Use a torque wrench to torque the knuckle bearing mounting bolts to the vehicle manufacturer’s specifications. Impact wrenches are not recommended. Proper torque is required.
3) Attach the new ABS sensor, already mounted on the new wheel hub bearing, to the mating connection points and clips in the wheel well and frame area, if applicable.
4) Install the wheel axle nut. Use a torque wrench to tighten the nut to the vehicle manufacturer’s recommended torque. Impact wrenches are not recommended.
5) Replace the brake rotor and caliper. All components should be cleaned of debris and burrs.
6) Replace the wheel and tighten the nut. Follow the vehicle manufacturer’s recommendations for torque specifications and retightening requirements.
WARNING: Follow the equipment manufacturer’s installation instructions. Do not attempt to remove the wheel hub bearing. Failure to follow installation instructions, guidelines, and warnings may result in equipment failure, creating a risk of serious personal injury.
To replace the wheel bearing or the hub assembly, it depends on the specific problem with your vehicle. Here are some general guidelines:
Wheel Bearing Replacement:
– If the wheel bearing makes noises, feels rough, or has excessive play, you may need to replace the wheel bearing.
– Wheel bearings can usually be replaced individually without replacing the entire wheel hub assembly.
– Replacing just the wheel bearing is usually a more cost-effective option than replacing the entire wheel hub assembly.
Copyright © NSAR Bearings. All rights reserved. Privacy Policy